Setup Video & Instructions Below
Step 1 – Link Your Payment Method
To use your Astari wearable, you’ll need to connect it to a payment method. There are two ways to do this:
1. Via Curve (recommended)
Most users set up a free Curve wallet, where you can safely add your existing payment cards. Then, you link your Curve wallet to your Astari ring or bracelet. That’s it — you’re ready to pay.
2. Direct Bank Connection
Some banks support a direct link to your Astari wearable. You can check the list of supported banks here.
If your bank isn’t on the list, no worries — just use Curve instead. It works with nearly all major cards.
Note: Curve is currently available in the UK and EEA (all EU countries + Iceland, Liechtenstein, and Norway).
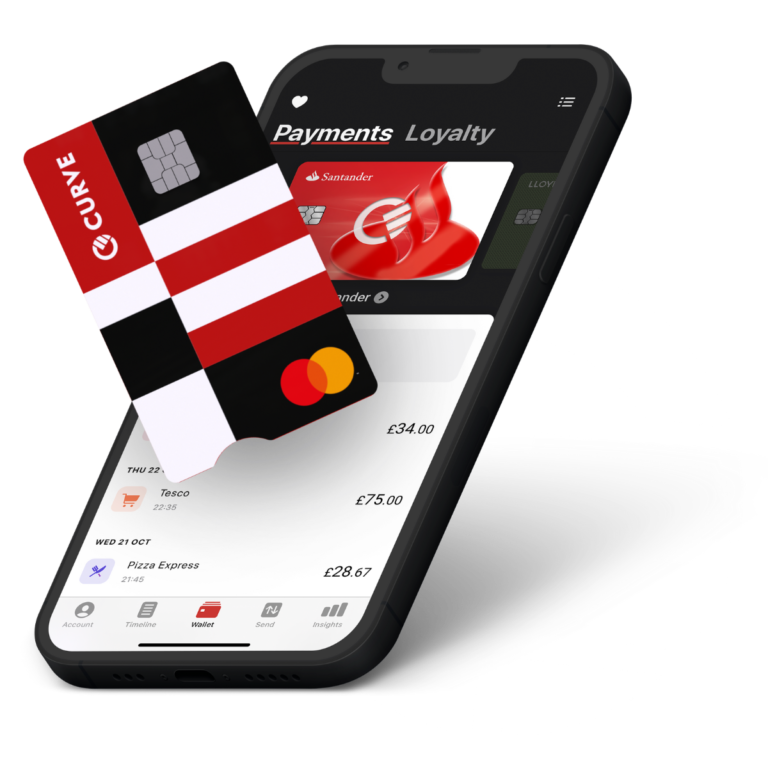
What is Curve
Curve is our wallet partner and is typically used to connect your payment card(s) to our wearables. Simply create a Curve account, add your preferred payment cards, and link the Curve wallet to your wearable. In most cases, their free plan will be sufficient, allowing you to link up to three payment cards to your wearable.
Step 2 – Install the Manage Mii App
The Manage Mii app serves as the control center for your wearable, enabling you to set up, manage, and temporarily freeze it with ease—giving you complete control over its functionality. This is the only app required to configure and manage your wearable(s).
Step 3 – Pair Your Wearable
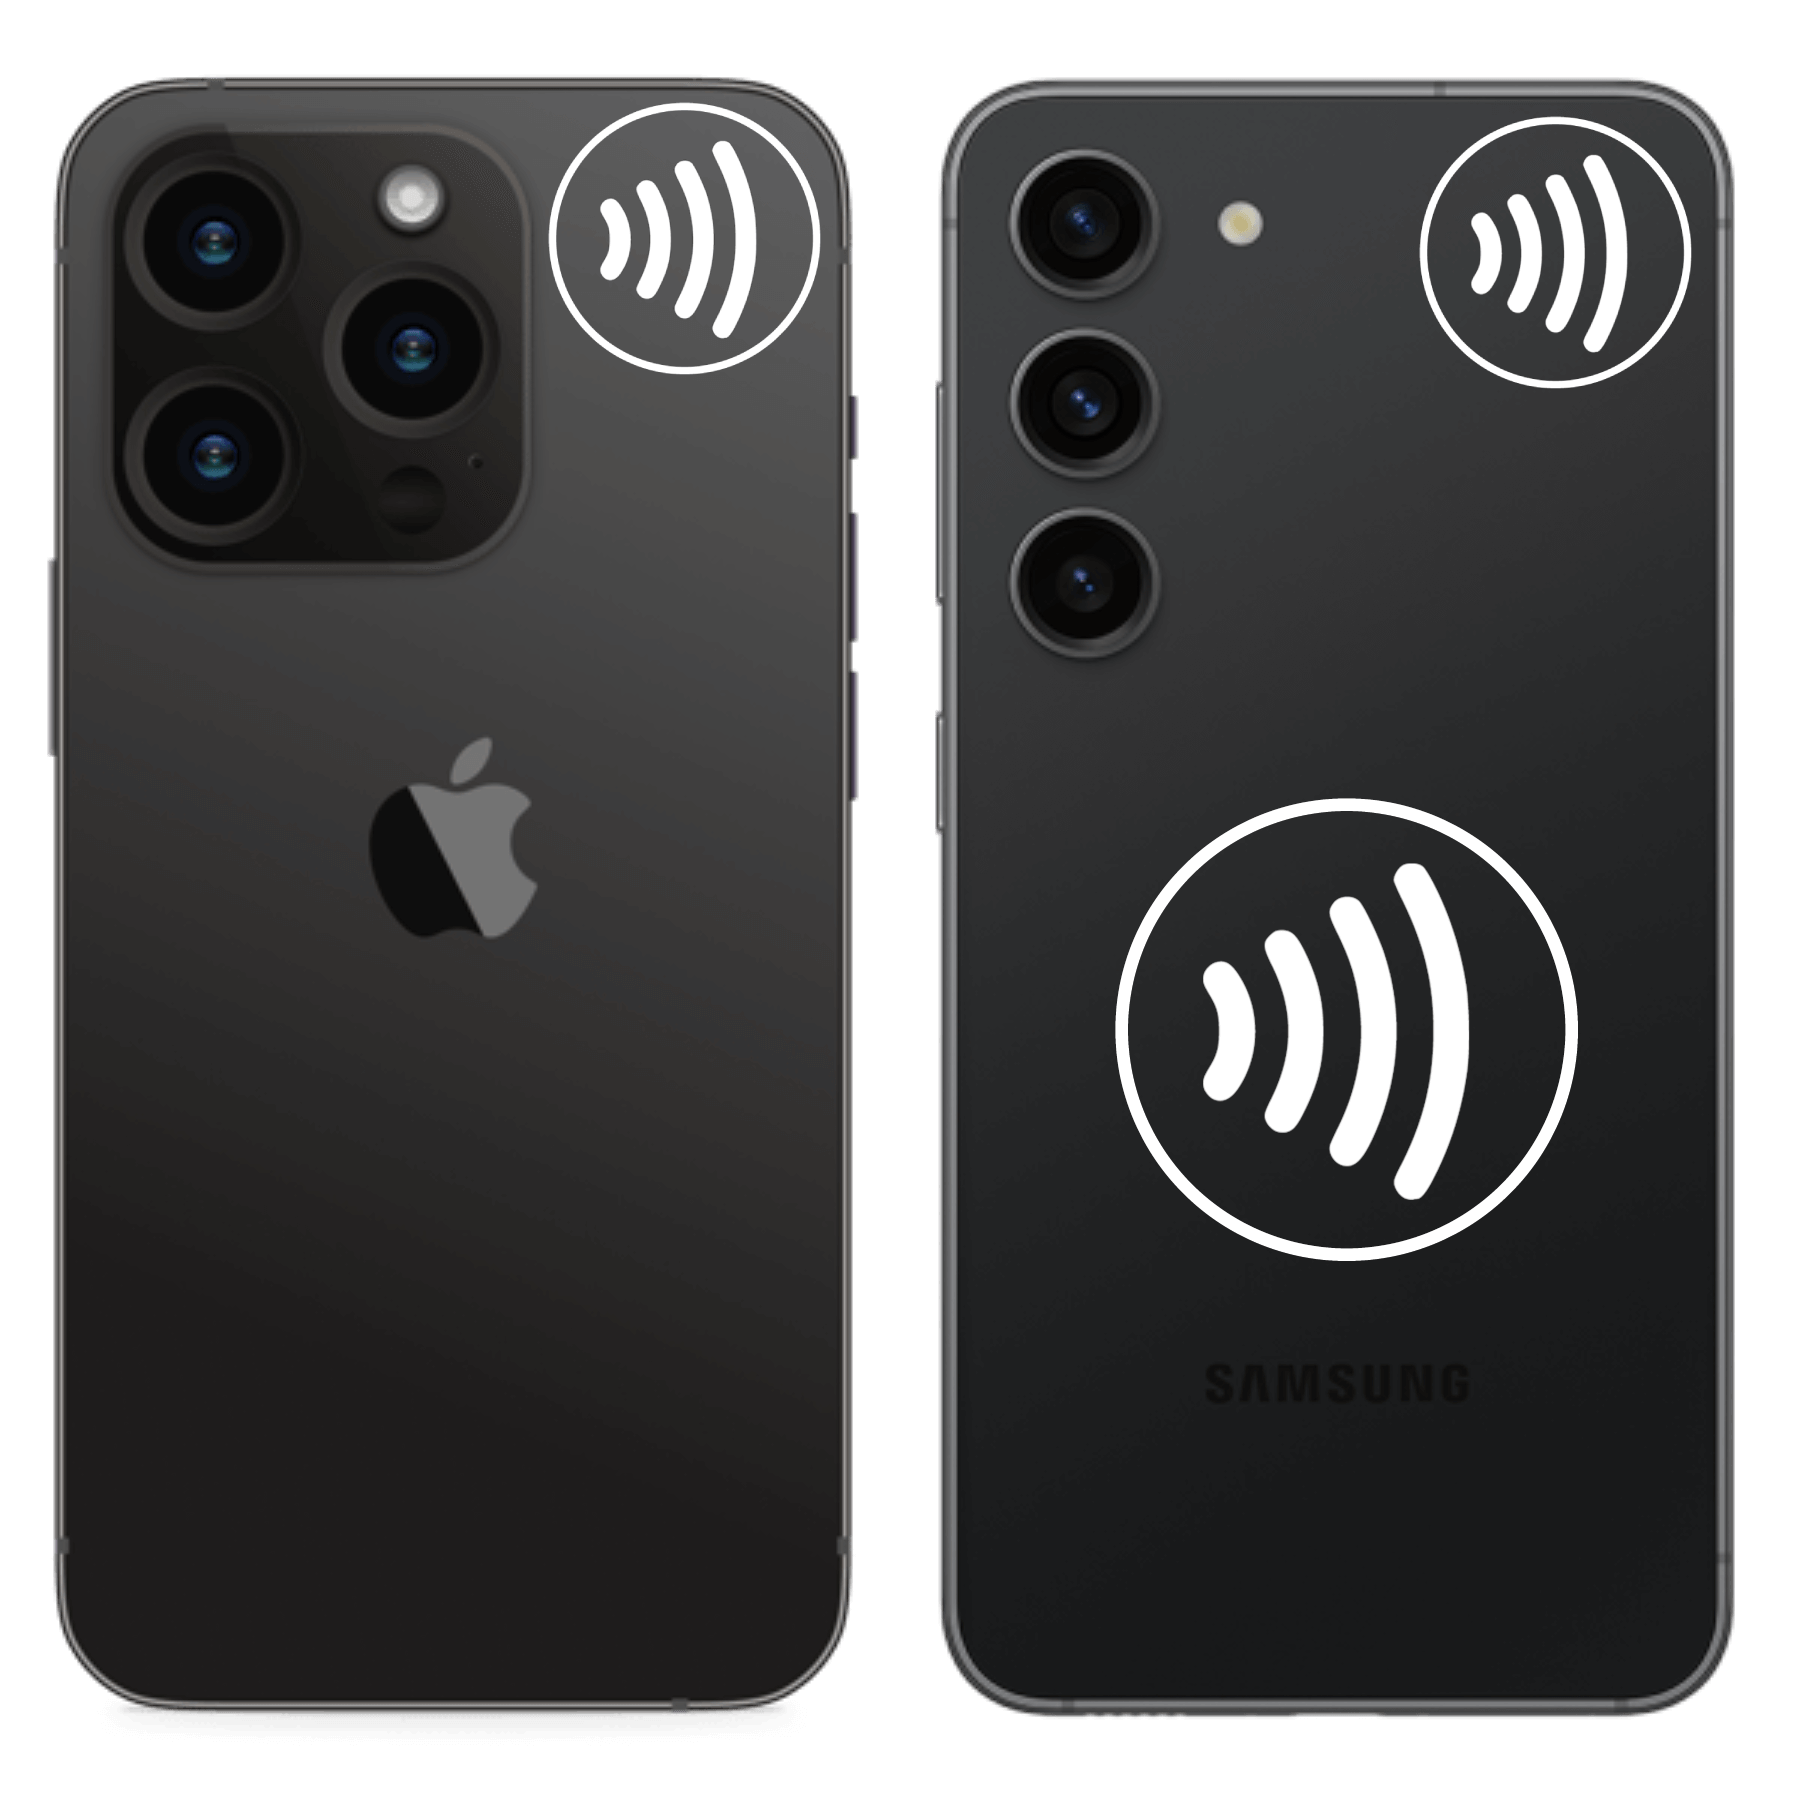
NFC Reader Location
Open the Manage Mii app and place your wearable against the back of your mobile phone to begin pairing. Refer to the image for the NFC ‘sweet spots’ based on your device type.
If you encounter any issues during pairing, try the following:
• Remove your phone case, as it may interfere with the NFC signal.
• Ensure no other payment cards are near your phone’s NFC reader, as they can cause disruptions.
• Hold the wearable still against the phone—avoid placing the phone on top of the wearable.
Step 4 – Connect Your Card or Curve Wallet
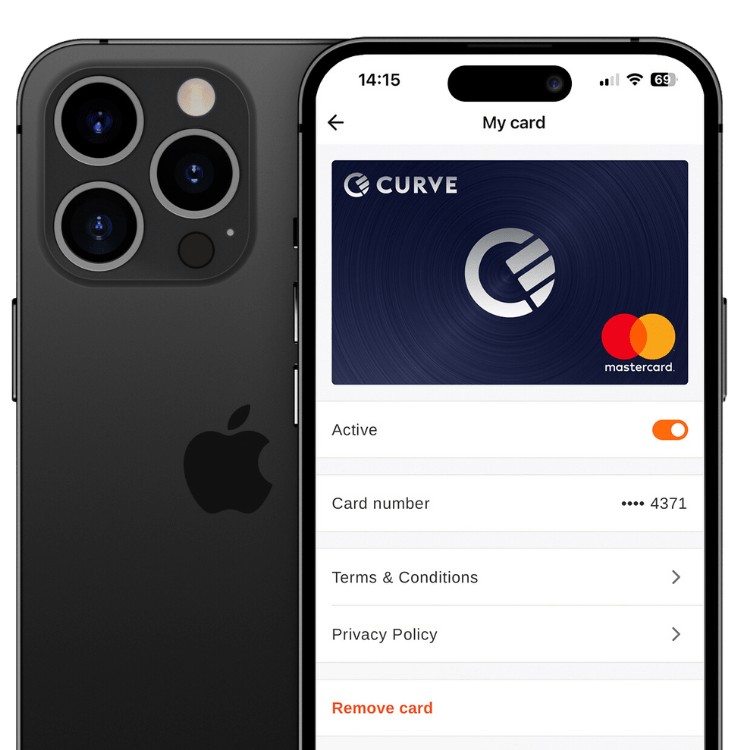
Connect your Curve card or supported bank card
Once your payment cards are added to Curve, the next step is to link your Curve wallet or card to your wearable to complete the setup. Here is how:
1. Open the Curve app and navigate to:
Launchpad → Account → Card Details
2. Locate your Curve card details and enter it into the Manage Mii app to connect the cards stored in your Curve wallet to your wearable.
3. If you have a directly supported payment card, simply enter its card number instead.
4. Hold your wearable flat and still against the NFC point on your phone until the setup is complete.
✅ You’re now ready to tap and pay!
Important Note for Samsung Pay (Curve Provided Cards)
If you’re unable to connect your Curve card, you may be using a Samsung Pay (Curve-provided) card, which cannot be linked. You will need a regular Curve account instead. Please visit our dedicated page for instructions on how to resolve this here.
How to Make Payments with Your Wearable
-
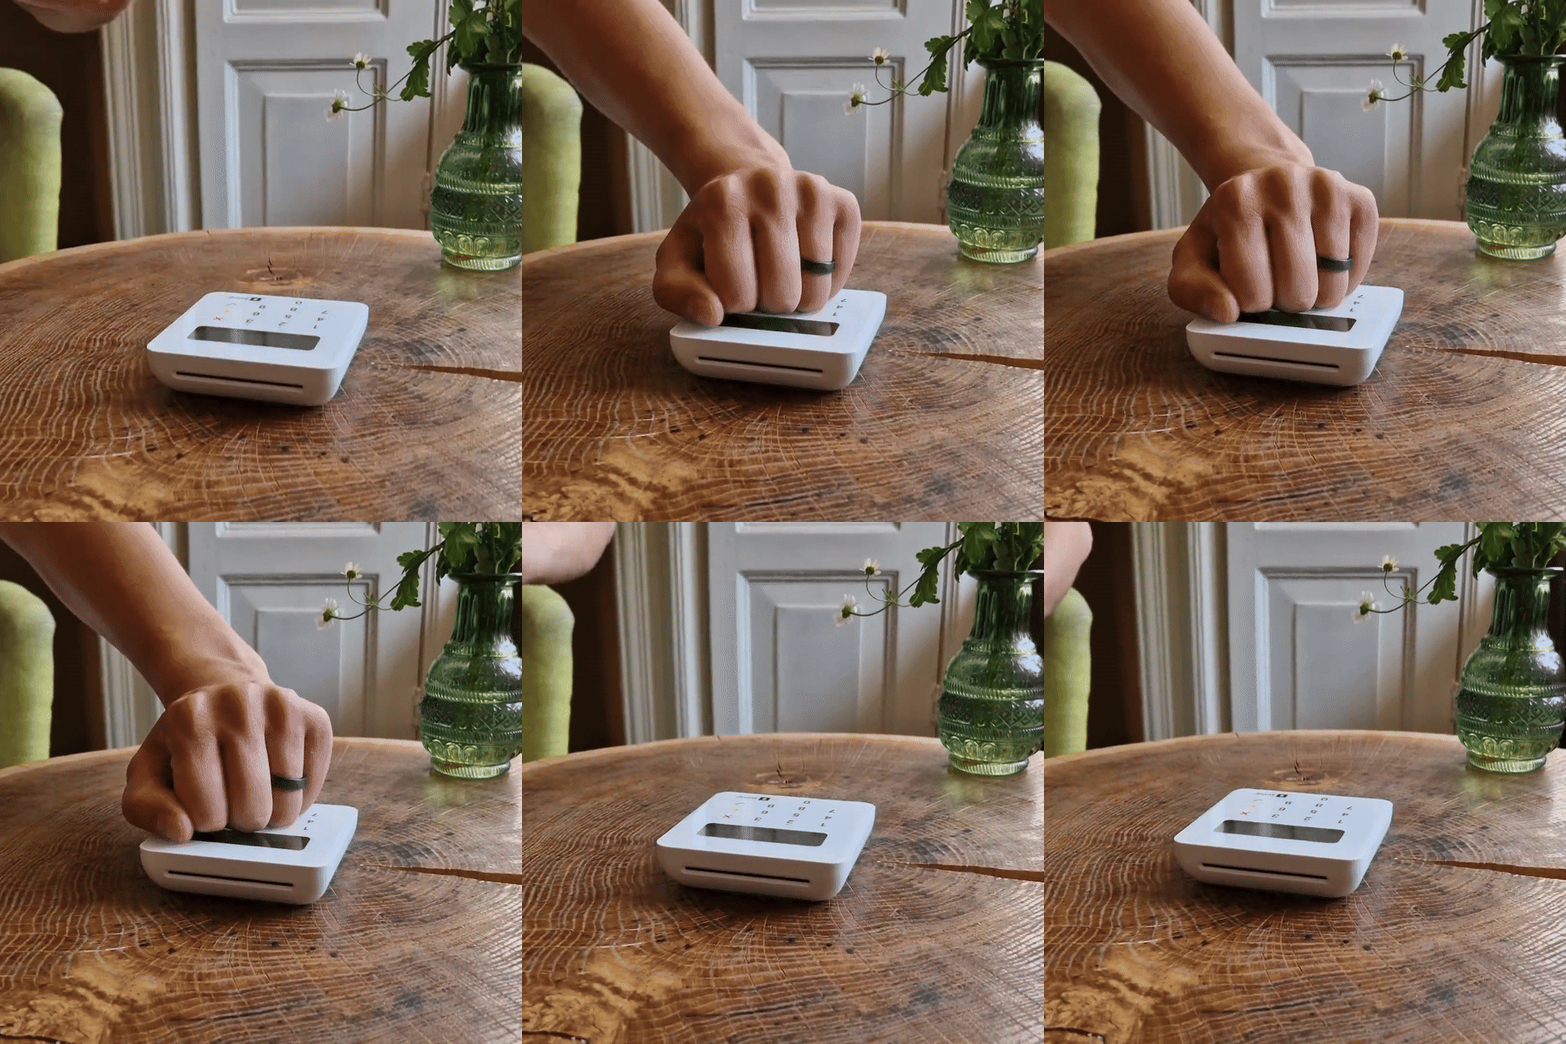
RING
The antenna extends around the entire ring, ensuring seamless transactions. For best performance and reliability, position the ring flat against the NFC area of the payment terminal—making a fist while tapping is a great way to achieve this.
-
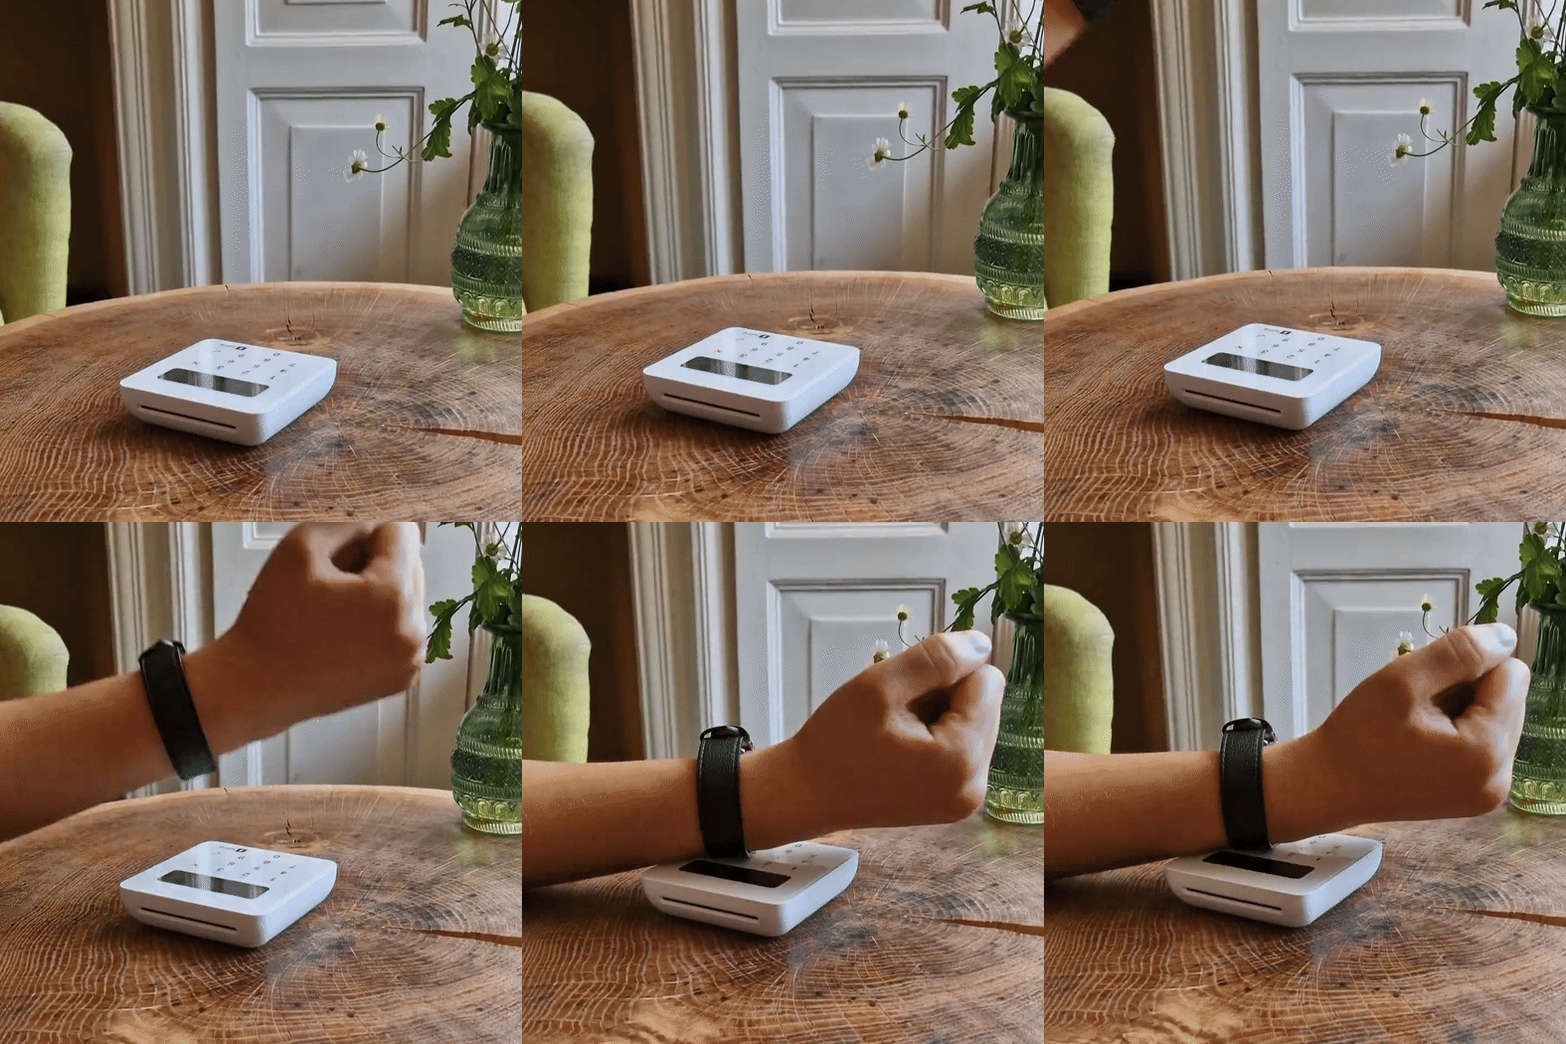
BRACELET
The payment chip is embedded behind the contactless logo in the center of the bracelet. For best performance and reliability, ensure the middle of the bracelet is positioned flat against the NFC area of the payment terminal, as shown.
-
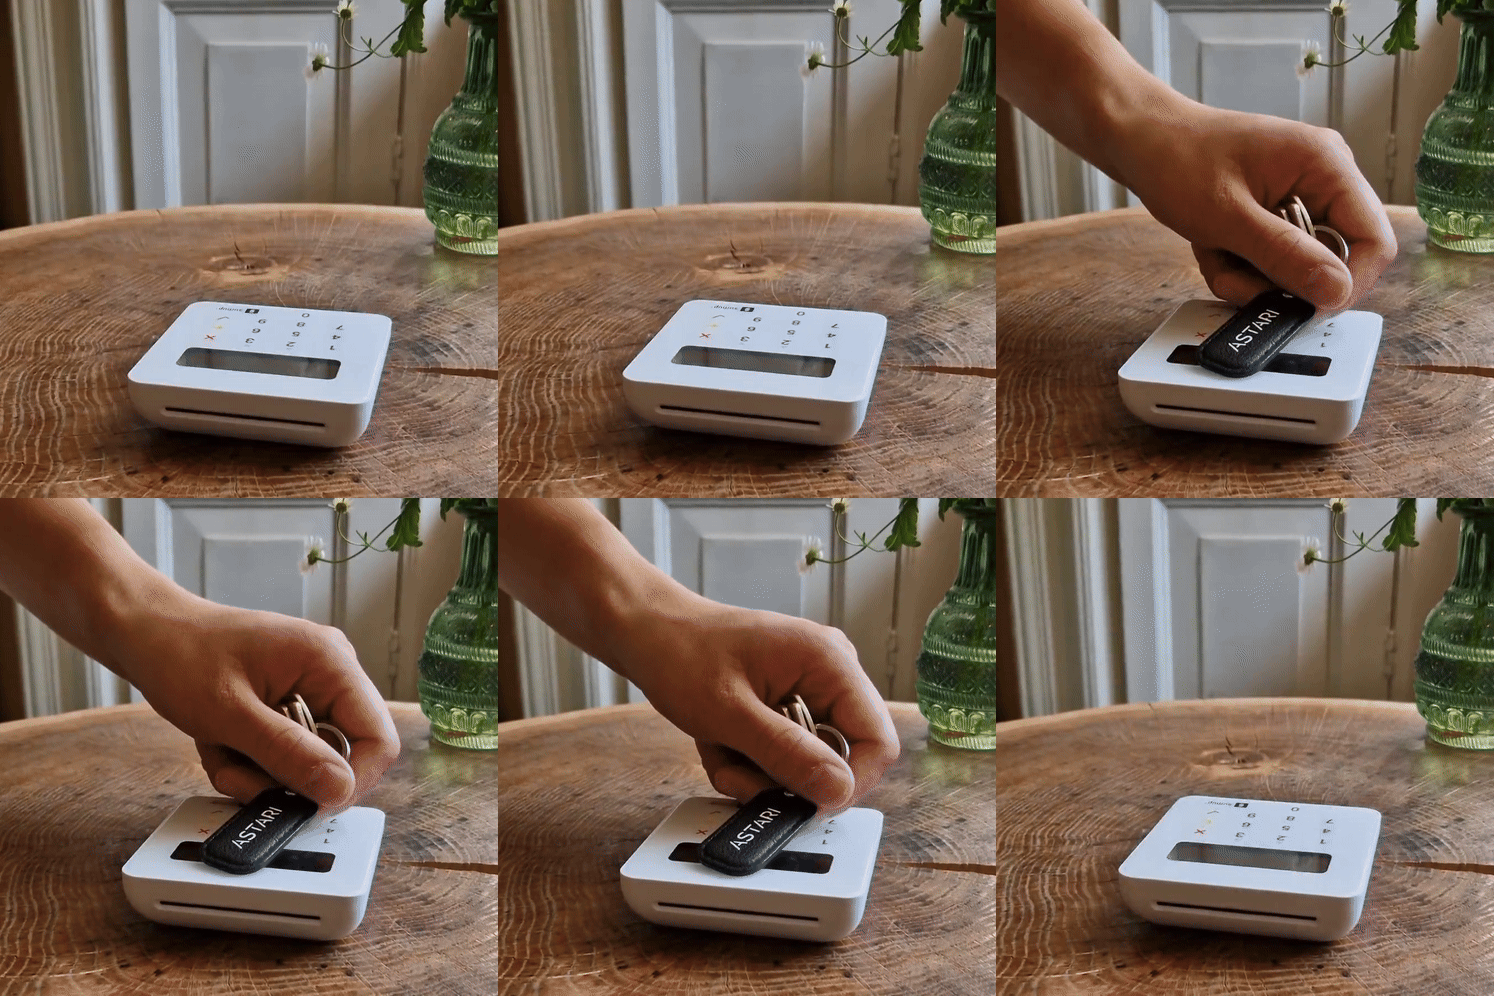
KEYCHAIN
The payment chip is embedded in the center of the keychain. For best performance and reliability, ensure the middle of the keychain is positioned flat against the NFC area of the payment terminal, as shown.
Having Troubles Setting Up?
Watch our quick setup video and carefully follow the instructions—this often resolves most questions right away.
Still having trouble? We’re happy to help! Email us at support@astariwearables.com and we’ll assist you as soon as possible.


